Posted on Leave a comment

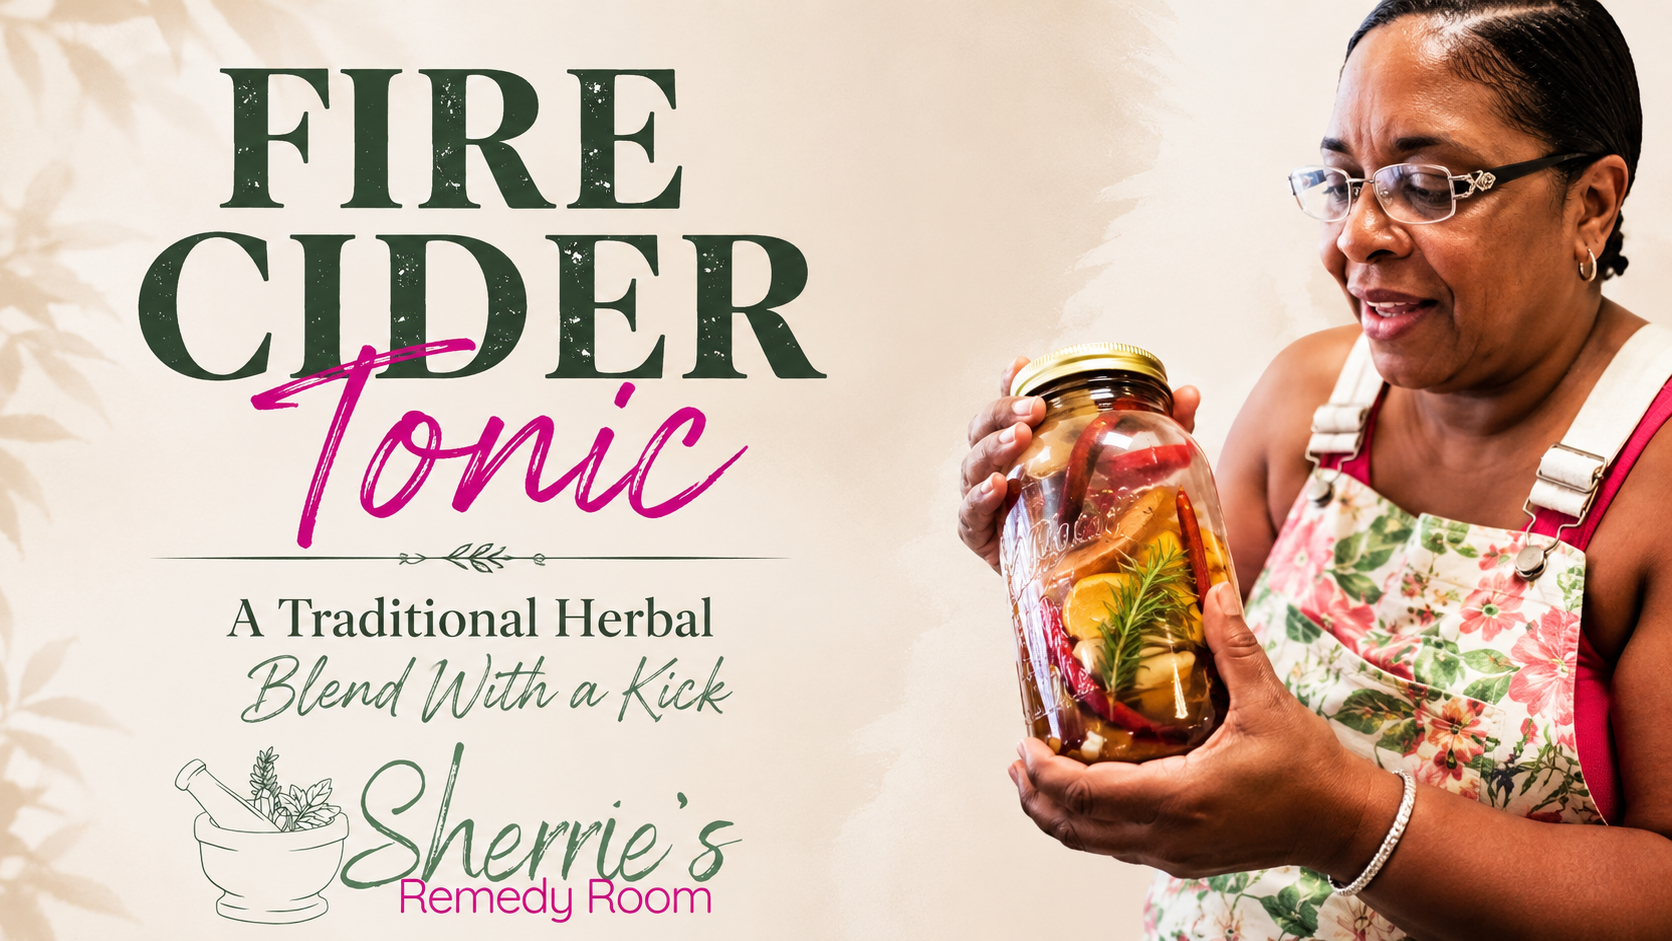
Fire Cider Tonic: A Bold, Traditional Herbal Blend With a Kick
Fire Cider Tonic: A Bold, Traditional Herbal Blend With a Kick

If you’ve never tried Fire Cider before, the name gives you a pretty good idea of what to expect. It’s bold, warming, tangy, and has just enough kick to earn its name.

Fire Cider is a traditional herbal vinegar made by infusing apple cider vinegar with fresh roots, herbs, spices, citrus, and other flavorful ingredients. At Sherrie’s Remedy Room, Sherrie puts her own spin on this old-fashioned herbal tradition using ingredients you may already recognize from your kitchen.

The result is a deeply flavored tonic that can be enjoyed on its own, diluted in water, or added to foods as part of your everyday routine.

What Is Fire Cider?

Fire Cider is a traditional herbal vinegar made by steeping fresh roots, herbs, spices, and other flavorful ingredients in apple cider vinegar over time.

As the ingredients infuse, the vinegar takes on their bold flavors and aromas, creating a spicy, tangy, concentrated blend.

There isn’t one single Fire Cider recipe. Like many folk herbal preparations, recipes have been shared, adapted, and personalized over the years. Some versions are extra spicy, some lean heavily on citrus, and others include herbs such as rosemary, thyme, or warming spices.

That ability to make each batch your own is part of the tradition.

A Little Fire Cider History

ire Cider has become one of the best-known preparations in modern folk herbalism.

Herbalist Rosemary Gladstar is widely credited with popularizing the preparation and teaching it to students beginning in the late 1970s and early 1980s.

From there, the recipe spread throughout the herbal community, with home herbalists and makers adapting it to their own tastes and traditions.

That’s why you’ll see so many variations today. The basic idea remains the same: vinegar, bold fresh ingredients, time, and plenty of flavor.

What’s In Sherrie’s Fire Cider?

Sherrie’s Fire Cider Tonic brings together a flavorful mix of fresh roots, herbs, spices, citrus, and honey.

  • Apple Cider Vinegar
  • Turmeric
  • Black Pepper
  • Elderberry
  • Oregano
  • Cayenne Pepper
  • Red Onion
  • Garlic
  • Ginger
  • Lemon
  • Orange
  • Cinnamon
  • Raw Honey

Each ingredient contributes its own flavor, aroma, heat, or sweetness, creating a tonic that is spicy, tangy, slightly sweet, and full of character.

How Sherrie Makes Her Fire Cider

Sometimes the easiest way to understand Fire Cider is to watch it being made.

Sherrie created the video below to walk you through her process, show you the ingredients that go into her Fire Cider, and give you a closer look at how everything comes together.

Make Your Own Fire Cider

One of the best things about Fire Cider is that there really isn’t just one recipe. It’s a folk herbal preparation that has traditionally been adapted based on personal taste, available ingredients, and just how much “fire” you want in your batch.

A classic Fire Cider base usually includes apple cider vinegar, horseradish, ginger, garlic, onion, hot peppers, and honey. From there, you can make it your own.

Basic Fire Cider Recipe

You’ll need:

  • Fresh horseradish, chopped or grated
  • Fresh ginger, chopped or grated
  • Garlic cloves, peeled and chopped
  • Onion, chopped
  • Fresh hot pepper such as jalapeño or habanero, sliced
  • Raw, unfiltered apple cider vinegar
  • Raw honey, to taste

How To Make Fire Cider

1. Prepare Your Ingredients

Wash and prepare your fresh ingredients. Chop, slice, or grate the roots, onion, garlic, peppers, citrus, and any other ingredients you’re using.

Place everything into a clean glass jar.

You want the ingredients to have plenty of room for the vinegar to move around them, so avoid packing the jar too tightly.

2. Cover With Apple Cider Vinegar

Pour raw, unfiltered apple cider vinegar over the ingredients until they are completely submerged.

Make sure everything stays below the vinegar while it infuses.

Tip: Because vinegar is acidic, avoid allowing it to sit directly against a metal lid. Use a non-reactive lid or place a layer of parchment paper between the jar and a metal lid.

3. Let It Infuse

Seal the jar and place it in a cool, dark location.

Allow the mixture to infuse for approximately 3 to 6 weeks.

Gently shake the jar regularly during the infusion period to help keep the ingredients moving and coated with vinegar.

As the weeks pass, you’ll notice the vinegar becoming darker, more aromatic, and much more flavorful.

4. Strain

When the Fire Cider has reached the flavor and strength you like, strain the mixture through a fine-mesh strainer or cheesecloth.

Press the ingredients gently to extract as much of the infused vinegar as possible.

Discard or compost the strained solids.

5. Add Honey

Once strained, stir in raw honey to taste.

Start with a small amount and add more until you find the balance you like between the vinegar, heat, and sweetness.

Pour your finished Fire Cider into a clean glass bottle or jar and seal tightly.

Make It Your Own

That’s really the beauty of Fire Cider.

Want more heat? Add another pepper.

Love ginger? Use a little extra.

Prefer more citrus? Add lemon or orange.

Want something warmer and spicier? Cinnamon, turmeric, or black pepper can completely change the personality of the finished blend.

There’s no single “perfect” batch. Part of the Fire Cider tradition is experimenting until you find the combination that tastes right to you.

How Do You Enjoy Fire Cider?

There’s no single way to enjoy Fire Cider.

Sherrie typically enjoys about 1 teaspoon at a time (up to 3 times per day), but the bold vinegar-and-spice flavor can also be diluted or incorporated into food.

You can try it:

  • Diluted in water
  • Stirred into a warm drink
  • Added to salad dressings
  • Mixed into marinades
  • Splashed over cooked greens
  • Stirred into soups or stews

Because Fire Cider is naturally acidic, spicy, and concentrated, start with a small amount and find the way you enjoy it best.

That preserves what Sherrie actually does without turning it into a dosage recommendation.

What Does Fire Cider Taste Like?

Fire Cider definitely isn’t a sweet syrup.

Sherrie’s blend is tangy, spicy, warming, citrusy, and slightly sweet, with plenty of personality.

You’ll notice the sharpness of the apple cider vinegar first, followed by layers of ginger, cayenne, black pepper, garlic, and onion. Lemon and orange brighten the blend, while cinnamon and raw honey help round out the stronger flavors.

If this is your first time trying Fire Cider, expect something bold. That’s part of the experience.

Why the Name “Fire Cider” Has a Story

Fire Cider has an interesting place in modern herbal history.

After the name was registered as a trademark by a commercial company, members of the herbal community challenged the idea that one business should have exclusive rights to a term that herbalists had already been using for years.

The disagreement eventually made its way to federal court.

In 2019, a judge ruled that “fire cider” was a generic term rather than a name that could belong exclusively to one company.

For many herbalists, the case represented something bigger than the name of a vinegar tonic. It highlighted the long tradition of herbal knowledge being shared, taught, adapted, and passed from one person to another.

Making Fire Cider Part of Your Routine

One of the things Sherrie loves about traditional herbal preparations is that many of the ingredients are already familiar — ginger, garlic, citrus, cinnamon, honey, and apple cider vinegar are things people have used in their kitchens for generations.

Whether you enjoy a small amount on its own or incorporate it into your cooking, Fire Cider can be another flavorful way to bring traditional herbal preparations into your everyday routine.

The important thing is finding the way that works best for you.

Want to Try Sherrie’s Fire Cider Tonic?

Don’t feel like making a batch yourself? Sherrie has already done the work for you.

Sherrie’s Fire Cider Tonic combines apple cider vinegar, fresh roots, citrus, herbs, spices, elderberry, and raw honey into one bold, ready-to-enjoy blend.

If you love traditional herbal preparations — or you’ve simply been curious about Fire Cider — this is an easy way to experience Sherrie’s version.

Disclaimer: This information is provided for educational purposes only and is not intended to diagnose, treat, cure, or prevent any disease. These statements have not been evaluated by the Food and Drug Administration. Consult a qualified healthcare professional before using herbal products, especially if you are pregnant or nursing, take medications, have allergies, or have a medical condition.
Posted on Leave a comment

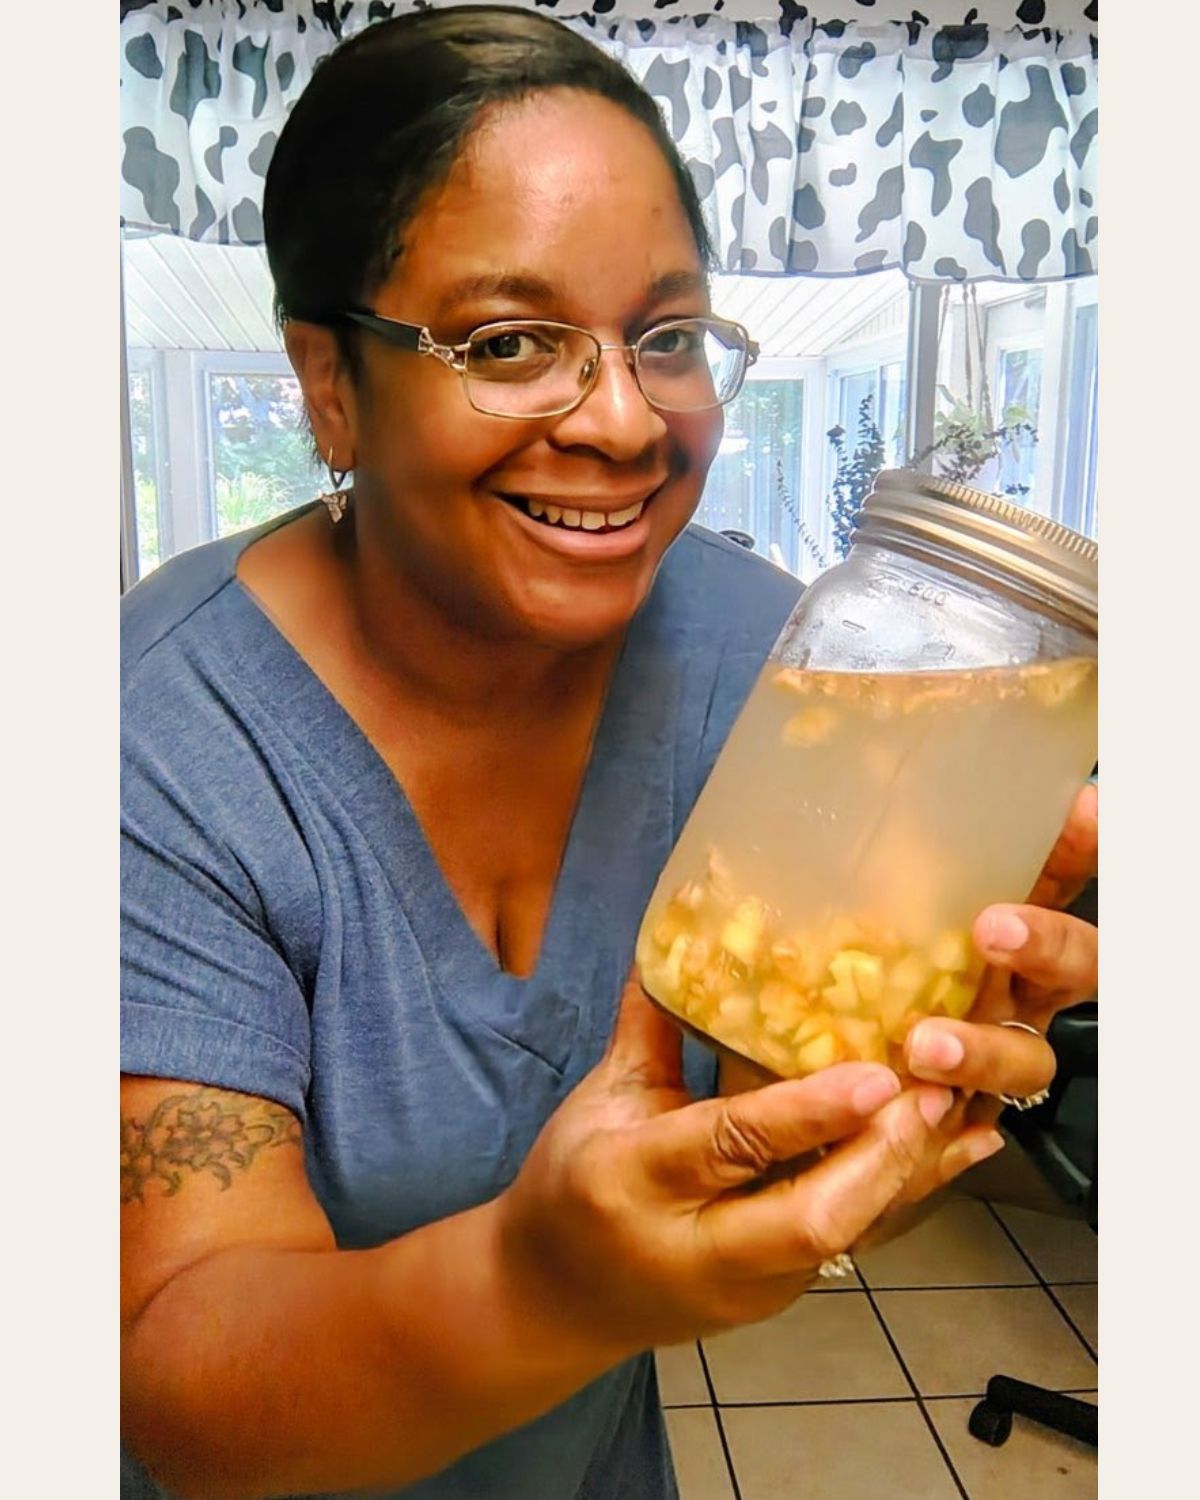
Homemade Ginger Ale with Ginger Bug

There’s nothing quite like a cold, fizzy glass of homemade ginger ale — especially when it’s naturally fermented with a ginger bug.

If you’ve already made your ginger bug starter, this is one of the easiest and tastiest ways to put it to use. Homemade ginger ale has that fresh ginger kick, just the right amount of sweetness, and natural fizz created during fermentation.

You can adjust the sweetness and ginger flavor to your own taste, which is one of the best things about making it yourself.

Homemade Ginger Ale Recipe

Ingredients

  • ½ gallon filtered water, divided
  • 1½–2 cups sugar
    Organic white sugar or unrefined sugar both work. You can use less depending on your preferred sweetness.
  • 3 cups organic fresh ginger root, chopped or sliced
  • 1 cup ginger bug starter
  • ⅓ cup fresh lime juice or lemon juice, optional

Important: Use filtered water. Chlorine can interfere with the beneficial yeast and bacteria needed for fermentation.

    • Fermentation: 3–5 days
    • Yield: about 10–12 standard swing-top bottles
    • Use bottles rated for carbonation
    • Refrigerate once it reaches the flavor and fizz you like


Directions

1. Make the Ginger Tea

Add part of the ½ gallon of filtered water, the fresh ginger, and sugar to a large pot.

Bring the mixture to a boil.

Reduce the heat to low or medium and simmer for about 10 minutes.

Add the remaining filtered water.

Set the ginger tea aside and allow it to cool completely to room temperature.

Do not add your ginger bug while the liquid is hot. Too much heat can kill the beneficial yeast and bacteria that make fermentation possible.

2. Strain the Ginger

Place a fine-mesh strainer over a large bowl or container.

Pour the cooled ginger mixture through the strainer to separate the ginger pieces from the liquid.

3. Add the Ginger Bug

Once the ginger tea has cooled to room temperature, add:

  • 1 cup ginger bug starter
  • ⅓ cup lime or lemon juice, if using

Stir everything together with a wooden spoon.

4. Bottle the Ginger Ale

Pour the liquid into clean flip-top bottles, leaving approximately 1 inch of headspace at the top of each bottle.

Close the bottles securely.

5. Ferment

Allow the ginger ale to ferment at room temperature for approximately 3–5 days.

Fermentation time will vary depending on the temperature inside your home. A warmer house can cause fermentation to happen faster.

As the ginger ale ferments, you should begin to see signs of activity and carbonation.

Taste it as it develops. If you’d like it sweeter, you can adjust the sweetness to your preference.

The ginger ale is ready when it is fizzy and no longer overly sweet.

If it is still sweeter than you like, allow it to ferment a little longer so the natural fermentation process can continue consuming some of the sugar.

A Note About Carbonation

Fermented drinks can build up quite a bit of pressure inside sealed bottles.

Some people “burp” their bottles by briefly opening them every day or two to release excess carbonation.

I personally do not normally burp mine, but you need to pay attention to your bottles and your fermentation time.

I’ve been making fermented drinks for quite a while and have never had a bottle explode, but I have forgotten about a batch for a few extra days and ended up with a very fizzy bottle that came pouring out like champagne!

These days, I open my fermented drinks outside on the deck — just in case. 🙂

Always use bottles designed to handle carbonation, check them regularly, and use extra caution when opening.

How Many Bottles Does This Recipe Make?

This recipe makes approximately:

  • 10–12 standard swing-top bottles, or
  • 4–5 larger swing-top bottles

The exact amount will depend on the size of the bottles you use.

You can also ferment ginger ale in jars, but it usually will not develop as much carbonation. It will still have that delicious fermented ginger flavor.


Watch Sherrie Make a Ginger Bug

Want to see the process in action? Watch Sherrie demonstrate how she makes her ginger bug starter.

When Is Homemade Ginger Ale Ready?

Your ginger ale is ready when:

  • It has developed noticeable fizz
  • The sweetness has mellowed
  • It has the ginger flavor you like

Once it tastes right to you, refrigerate it to slow the fermentation process.

And remember — even after refrigeration, fermented drinks can continue developing some pressure, so always open them carefully.

Enjoy & Share!

Homemade ginger ale is one of my favorite ways to use a healthy, active ginger bug.

Once you get comfortable with the process, you can experiment with different levels of ginger, citrus, and sweetness until you find the flavor your family loves.

If you haven’t made your ginger bug yet, start with my Homemade Ginger Bug recipe first, then come back and turn it into this naturally fizzy homemade ginger ale.

Enjoy & Share. Thank you for watching! ☺️

Posted on Leave a comment

Ginger Bug: A Simple Starter for Naturally Fermented Drinks

Have you ever wondered how people make naturally fizzy homemade drinks without commercial yeast or carbonation equipment?

One traditional way is with a ginger bug.

A ginger bug is a living fermentation starter made with fresh ginger, sugar, and water. Think of it a little like a sourdough starter—but instead of helping bread rise, a ginger bug is used to help ferment and naturally carbonate homemade beverages.

Once your ginger bug becomes active and bubbly, it can be used to make ginger beer, fruit sodas, sparkling herbal teas, lemonade, and other naturally fermented drinks.

What Is a Ginger Bug?

Fresh ginger naturally carries wild yeasts and bacteria. When ginger is combined with sugar and non-chlorinated water, those microorganisms begin feeding on the sugar.

As the mixture ferments, it begins producing carbon dioxide, which creates the bubbles you’ll eventually see developing throughout the jar.

Those bubbles are a good sign—they mean your ginger bug is becoming active.

The process generally takes about 5–7 days, although fermentation can move a little faster or slower depending on the temperature of your kitchen and the activity of your starter.

Ginger Bug Starter Recipe

Ingredients

  • 1 tablespoon organic fresh ginger, unpeeled and grated or finely chopped
  • 3 tablespoons sugar
  • 2 cups filtered, non-chlorinated water

Directions

1. Add the unpeeled grated or finely chopped ginger and sugar to a clean glass jar.

2. Pour in the filtered, non-chlorinated water.

3. Stir everything together well until the sugar has completely dissolved.

4. Cover the jar with cheesecloth or another breathable cloth and secure it with a rubber band.

5. Allow the jar to sit on your counter at room temperature for approximately 24 hours.

6. During that first day, give your ginger bug a stir every few hours—or whenever you happen to think about it.

Feeding Your Ginger Bug

Beginning the next day, feed your ginger bug every day with:

  • 1 tablespoon grated or finely chopped fresh ginger
  • 1 tablespoon sugar

Stir the mixture well after each feeding.

Continue feeding and stirring your ginger bug daily.

After a few days, you should begin seeing bubbles forming in the jar. You may notice bubbles along the sides, across the surface, or increased bubbling after you give it a stir.

Keep feeding your starter until it becomes active and bubbly. This usually takes about 5–7 days.

How Do You Know When It Is Ready?

Your ginger bug is ready to use when you can consistently see bubbling and fermentation activity in the jar.

It should have a fresh ginger aroma along with a slightly yeasty or fermented smell.

If everything looks and smells right and your starter is happily bubbling away, it is ready to use.

Watch Sherrie Make a Ginger Bug

Want to see the process in action? Watch Sherrie demonstrate how she makes her ginger bug starter.

What Can You Make With a Ginger Bug?

Once your ginger bug is active, the strained liquid can be used as a starter for a variety of homemade fermented beverages. This is where you can start experimenting with different flavors, fruits, herbs, and teas.

Ginger Beer or Ginger Ale

Probably the most traditional use for a ginger bug, homemade ginger beer combines an active starter with a sweetened ginger base to create a naturally fermented, fizzy drink.

Homemade Fruit Sodas

A ginger bug can be used with sweetened fruit-based beverages such as apple, cranberry, grape, peach, berry blends, or citrus. Once you understand the basic process, there are plenty of flavor combinations to explore.

Sparkling Herbal Teas

Sweetened herbal teas can also be fermented using your ginger bug. Different herbs, fruits, spices, and teas give you plenty of room to create your own unique combinations.

Lemonade and Other Natural Sodas

Sweetened lemonade and other homemade soda bases can also be fermented using an active ginger bug.

How to Store Your Ginger Bug

Once your ginger bug is active, you don’t have to keep it sitting on your counter indefinitely.

If you aren’t planning to use it right away, place it in the refrigerator.

The colder temperature slows down fermentation and makes your starter easier to maintain.

Weekly Feeding

While refrigerated, feed your ginger bug about once a week with:

  • 1 tablespoon fresh ginger
  • 1 tablespoon sugar

Give it a good stir after feeding.

Getting Your Ginger Bug Ready to Use Again

When you’re ready to make another fermented beverage, remove your ginger bug from the refrigerator and allow it to return to room temperature.

Resume regular feedings until you begin seeing plenty of bubbles and activity again.

Once it is active and bubbly, it is ready for your next batch.

A Few Important Ginger Bug Tips

Always begin with clean hands, jars, and utensils.

Use filtered or other non-chlorinated water whenever possible, since chlorine can interfere with the microorganisms responsible for fermentation.

A healthy ginger bug should smell fresh, gingery, and mildly fermented.

If you notice fuzzy mold, unusual colored growth, or a rotten or strongly unpleasant smell, discard the batch, clean your equipment thoroughly, and start over.

Remember that fermentation produces carbon dioxide. If you use your ginger bug to carbonate beverages in sealed bottles, pressure can build inside the container. Always use bottles designed to handle carbonation and monitor them carefully.

Naturally fermented beverages can also develop a small amount of alcohol during the fermentation process.

Start Your Own Ginger Bug

A ginger bug is a simple way to start exploring traditional fermentation at home.

With fresh ginger, sugar, filtered water, and a little patience, you can create a living starter that can be maintained and used again and again.

Keep feeding it, keep stirring it, and watch for those bubbles.

Before long, you’ll have your own active ginger bug ready for your next homemade fermented drink.