Posted on Leave a comment

Homemade Ginger Ale with Ginger Bug

There’s nothing quite like a cold, fizzy glass of homemade ginger ale — especially when it’s naturally fermented with a ginger bug.

If you’ve already made your ginger bug starter, this is one of the easiest and tastiest ways to put it to use. Homemade ginger ale has that fresh ginger kick, just the right amount of sweetness, and natural fizz created during fermentation.

You can adjust the sweetness and ginger flavor to your own taste, which is one of the best things about making it yourself.

Homemade Ginger Ale Recipe

Ingredients

  • ½ gallon filtered water, divided
  • 1½–2 cups sugar
    Organic white sugar or unrefined sugar both work. You can use less depending on your preferred sweetness.
  • 3 cups organic fresh ginger root, chopped or sliced
  • 1 cup ginger bug starter
  • ⅓ cup fresh lime juice or lemon juice, optional

Important: Use filtered water. Chlorine can interfere with the beneficial yeast and bacteria needed for fermentation.

    • Fermentation: 3–5 days
    • Yield: about 10–12 standard swing-top bottles
    • Use bottles rated for carbonation
    • Refrigerate once it reaches the flavor and fizz you like


Directions

1. Make the Ginger Tea

Add part of the ½ gallon of filtered water, the fresh ginger, and sugar to a large pot.

Bring the mixture to a boil.

Reduce the heat to low or medium and simmer for about 10 minutes.

Add the remaining filtered water.

Set the ginger tea aside and allow it to cool completely to room temperature.

Do not add your ginger bug while the liquid is hot. Too much heat can kill the beneficial yeast and bacteria that make fermentation possible.

2. Strain the Ginger

Place a fine-mesh strainer over a large bowl or container.

Pour the cooled ginger mixture through the strainer to separate the ginger pieces from the liquid.

3. Add the Ginger Bug

Once the ginger tea has cooled to room temperature, add:

  • 1 cup ginger bug starter
  • ⅓ cup lime or lemon juice, if using

Stir everything together with a wooden spoon.

4. Bottle the Ginger Ale

Pour the liquid into clean flip-top bottles, leaving approximately 1 inch of headspace at the top of each bottle.

Close the bottles securely.

5. Ferment

Allow the ginger ale to ferment at room temperature for approximately 3–5 days.

Fermentation time will vary depending on the temperature inside your home. A warmer house can cause fermentation to happen faster.

As the ginger ale ferments, you should begin to see signs of activity and carbonation.

Taste it as it develops. If you’d like it sweeter, you can adjust the sweetness to your preference.

The ginger ale is ready when it is fizzy and no longer overly sweet.

If it is still sweeter than you like, allow it to ferment a little longer so the natural fermentation process can continue consuming some of the sugar.

A Note About Carbonation

Fermented drinks can build up quite a bit of pressure inside sealed bottles.

Some people “burp” their bottles by briefly opening them every day or two to release excess carbonation.

I personally do not normally burp mine, but you need to pay attention to your bottles and your fermentation time.

I’ve been making fermented drinks for quite a while and have never had a bottle explode, but I have forgotten about a batch for a few extra days and ended up with a very fizzy bottle that came pouring out like champagne!

These days, I open my fermented drinks outside on the deck — just in case. 🙂

Always use bottles designed to handle carbonation, check them regularly, and use extra caution when opening.

How Many Bottles Does This Recipe Make?

This recipe makes approximately:

  • 10–12 standard swing-top bottles, or
  • 4–5 larger swing-top bottles

The exact amount will depend on the size of the bottles you use.

You can also ferment ginger ale in jars, but it usually will not develop as much carbonation. It will still have that delicious fermented ginger flavor.


Watch Sherrie Make a Ginger Bug

Want to see the process in action? Watch Sherrie demonstrate how she makes her ginger bug starter.

When Is Homemade Ginger Ale Ready?

Your ginger ale is ready when:

  • It has developed noticeable fizz
  • The sweetness has mellowed
  • It has the ginger flavor you like

Once it tastes right to you, refrigerate it to slow the fermentation process.

And remember — even after refrigeration, fermented drinks can continue developing some pressure, so always open them carefully.

Enjoy & Share!

Homemade ginger ale is one of my favorite ways to use a healthy, active ginger bug.

Once you get comfortable with the process, you can experiment with different levels of ginger, citrus, and sweetness until you find the flavor your family loves.

If you haven’t made your ginger bug yet, start with my Homemade Ginger Bug recipe first, then come back and turn it into this naturally fizzy homemade ginger ale.

Enjoy & Share. Thank you for watching! ☺️
Posted on Leave a comment

Ginger Bug: A Simple Starter for Naturally Fermented Drinks

Have you ever wondered how people make naturally fizzy homemade drinks without commercial yeast or carbonation equipment?

One traditional way is with a ginger bug.

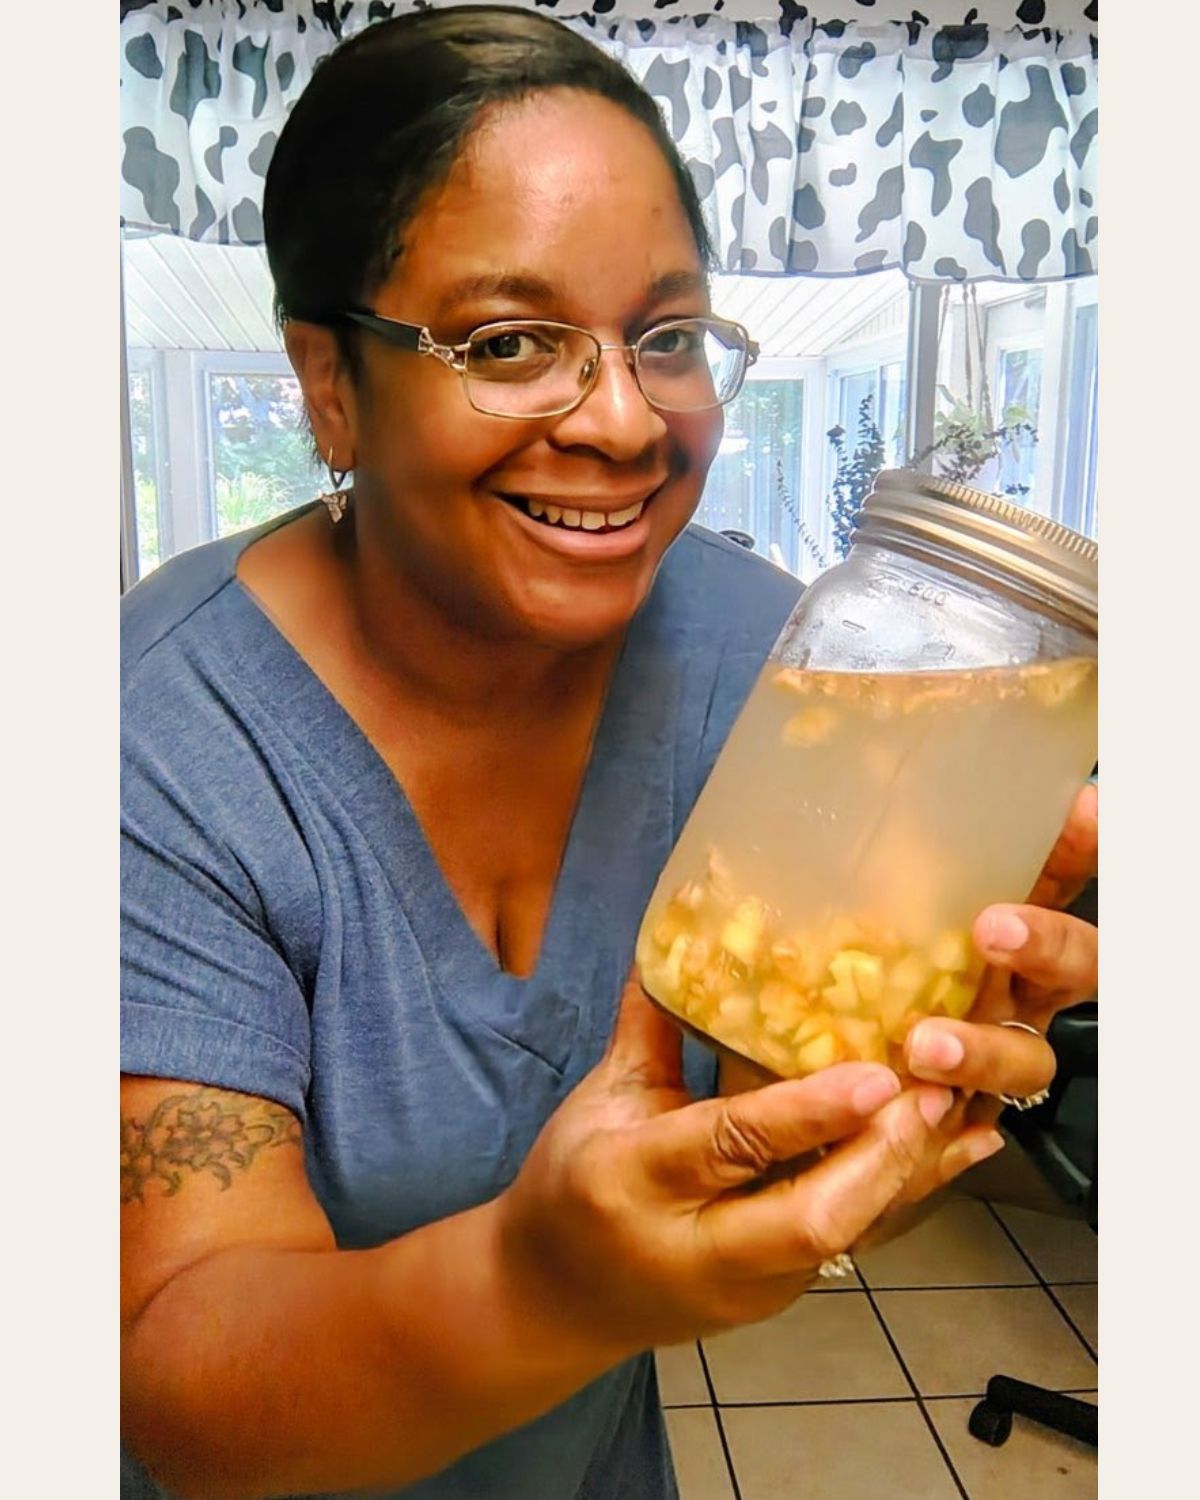
A ginger bug is a living fermentation starter made with fresh ginger, sugar, and water. Think of it a little like a sourdough starter—but instead of helping bread rise, a ginger bug is used to help ferment and naturally carbonate homemade beverages.

Once your ginger bug becomes active and bubbly, it can be used to make ginger beer, fruit sodas, sparkling herbal teas, lemonade, and other naturally fermented drinks.

What Is a Ginger Bug?

Fresh ginger naturally carries wild yeasts and bacteria. When ginger is combined with sugar and non-chlorinated water, those microorganisms begin feeding on the sugar.

As the mixture ferments, it begins producing carbon dioxide, which creates the bubbles you’ll eventually see developing throughout the jar.

Those bubbles are a good sign—they mean your ginger bug is becoming active.

The process generally takes about 5–7 days, although fermentation can move a little faster or slower depending on the temperature of your kitchen and the activity of your starter.

Ginger Bug Starter Recipe

Ingredients

  • 1 tablespoon organic fresh ginger, unpeeled and grated or finely chopped
  • 3 tablespoons sugar
  • 2 cups filtered, non-chlorinated water

Directions

1. Add the unpeeled grated or finely chopped ginger and sugar to a clean glass jar.

2. Pour in the filtered, non-chlorinated water.

3. Stir everything together well until the sugar has completely dissolved.

4. Cover the jar with cheesecloth or another breathable cloth and secure it with a rubber band.

5. Allow the jar to sit on your counter at room temperature for approximately 24 hours.

6. During that first day, give your ginger bug a stir every few hours—or whenever you happen to think about it.

Feeding Your Ginger Bug

Beginning the next day, feed your ginger bug every day with:

  • 1 tablespoon grated or finely chopped fresh ginger
  • 1 tablespoon sugar

Stir the mixture well after each feeding.

Continue feeding and stirring your ginger bug daily.

After a few days, you should begin seeing bubbles forming in the jar. You may notice bubbles along the sides, across the surface, or increased bubbling after you give it a stir.

Keep feeding your starter until it becomes active and bubbly. This usually takes about 5–7 days.

How Do You Know When It Is Ready?

Your ginger bug is ready to use when you can consistently see bubbling and fermentation activity in the jar.

It should have a fresh ginger aroma along with a slightly yeasty or fermented smell.

If everything looks and smells right and your starter is happily bubbling away, it is ready to use.

Watch Sherrie Make a Ginger Bug

Want to see the process in action? Watch Sherrie demonstrate how she makes her ginger bug starter.

What Can You Make With a Ginger Bug?

Once your ginger bug is active, the strained liquid can be used as a starter for a variety of homemade fermented beverages. This is where you can start experimenting with different flavors, fruits, herbs, and teas.

Ginger Beer or Ginger Ale

Probably the most traditional use for a ginger bug, homemade ginger beer combines an active starter with a sweetened ginger base to create a naturally fermented, fizzy drink.

Homemade Fruit Sodas

A ginger bug can be used with sweetened fruit-based beverages such as apple, cranberry, grape, peach, berry blends, or citrus. Once you understand the basic process, there are plenty of flavor combinations to explore.

Sparkling Herbal Teas

Sweetened herbal teas can also be fermented using your ginger bug. Different herbs, fruits, spices, and teas give you plenty of room to create your own unique combinations.

Lemonade and Other Natural Sodas

Sweetened lemonade and other homemade soda bases can also be fermented using an active ginger bug.

How to Store Your Ginger Bug

Once your ginger bug is active, you don’t have to keep it sitting on your counter indefinitely.

If you aren’t planning to use it right away, place it in the refrigerator.

The colder temperature slows down fermentation and makes your starter easier to maintain.

Weekly Feeding

While refrigerated, feed your ginger bug about once a week with:

  • 1 tablespoon fresh ginger
  • 1 tablespoon sugar

Give it a good stir after feeding.

Getting Your Ginger Bug Ready to Use Again

When you’re ready to make another fermented beverage, remove your ginger bug from the refrigerator and allow it to return to room temperature.

Resume regular feedings until you begin seeing plenty of bubbles and activity again.

Once it is active and bubbly, it is ready for your next batch.

A Few Important Ginger Bug Tips

Always begin with clean hands, jars, and utensils.

Use filtered or other non-chlorinated water whenever possible, since chlorine can interfere with the microorganisms responsible for fermentation.

A healthy ginger bug should smell fresh, gingery, and mildly fermented.

If you notice fuzzy mold, unusual colored growth, or a rotten or strongly unpleasant smell, discard the batch, clean your equipment thoroughly, and start over.

Remember that fermentation produces carbon dioxide. If you use your ginger bug to carbonate beverages in sealed bottles, pressure can build inside the container. Always use bottles designed to handle carbonation and monitor them carefully.

Naturally fermented beverages can also develop a small amount of alcohol during the fermentation process.

Start Your Own Ginger Bug

A ginger bug is a simple way to start exploring traditional fermentation at home.

With fresh ginger, sugar, filtered water, and a little patience, you can create a living starter that can be maintained and used again and again.

Keep feeding it, keep stirring it, and watch for those bubbles.

Before long, you’ll have your own active ginger bug ready for your next homemade fermented drink.

Posted on 3 Comments

Einkorn Bread Recipe

Einkorn Bread Recipe

3/4 C Warm Water (110°F)

1/2 C Whole Milk

2 Tbs Melted Butter

2 Tbs Honey

1 1/2 Tsp Dry Active Yeast

3 3/4 C All Purpose Einkorn Flour

Pinch of Redmond’s Real Salt

Affiliate Disclosure: This post contains affiliate links. If you click on one of these links and make a purchase, I may receive a small commission at no extra cost to you. This helps support the blog and allows me to continue creating free content. Thank you for your support!

Posted on 2 Comments

Grand Teton

In the world of health foods, “ancient grains” is a term often thrown around, but one grain stands truly apart as the ancestor of them all: Einkorn. Whether you’re looking to heal your gut, boost your nutrition, or simply get back to a more traditional way of eating, Einkorn is a game-changer. If you’re ready to upgrade your pantry, you can find the highest quality products through Sherrie’s Remedy Room at AncientGrains.com.

Here is everything you need to know about this “Staff of Life” and why it deserves a spot in your kitchen.


What is Einkorn? The Original Wheat

Einkorn (German for “single grain”) is the most ancient variety of wheat known to man. Unlike modern wheat, which has been hybridized and genetically altered over centuries to increase yields and gluten strength, Einkorn remains exactly as it was 10,000 years ago.

While modern wheat is a “hexaploid” (meaning it has 42 chromosomes), Einkorn is a “diploid” with only 14 chromosomes. This genetic simplicity is exactly why so many people who struggle with modern wheat find they can enjoy Einkorn without issue.

5 Reasons to Switch to Einkorn

1. Easier Digestion

The biggest draw for most people is that Einkorn contains a completely different type of gluten. It lacks the “D-genome” found in modern wheat—the part often linked to gluten sensitivity. Because the gluten structure is weak and water-soluble, your body can break it down much more easily. (Note: It still contains gluten, so it is not suitable for those with Celiac disease).

2. A Nutritional Powerhouse

Compared to modern wheat, Einkorn is significantly more nutrient-dense:

  • Protein: Contains about 30% more protein than modern wheat.

  • Antioxidants: High levels of Lutein (great for eye health) and Beta-Carotene.

  • Minerals: Higher in Zinc, Iron, Manganese, and Magnesium.

  • Essential Fatty Acids: Richer in the “good fats” your brain and heart need.

3. Low Glycemic Index

If you’re watching your blood sugar, Einkorn is a fantastic choice. Its complex carbohydrates break down slowly, providing sustained energy without the “sugar crash” often associated with white flour products.

4. Pure and Chemical-Free

Einkorn grows with a tight outer husk (hull) that naturally protects the grain from pests and environmental pollutants. This makes it much easier to grow organically without the need for harsh pesticides or chemical fertilizers.

5. Superior Flavor

Modern flour is often bland, but Einkorn has a rich, nutty, and slightly sweet flavor. It creates a beautiful golden-hued loaf of bread or batch of cookies that tastes like “real” food.


Tips for Baking with Einkorn

If you’re used to modern “all-purpose” flour, baking with Einkorn requires a slight shift in technique:

  • Don’t Over-Knead: Because the gluten is weak, over-kneading will make the dough sticky rather than stretchy.

  • Less Liquid: Einkorn absorbs liquid slower than modern wheat. Often, you’ll want to reduce the liquid in your favorite recipes by about 15-20%.

  • Let it Rest: Give your batter or dough a few extra minutes to hydrate before popping it in the oven.

Where to Buy?

If you want to ensure you are getting pure, non-GMO, and expertly handled ancient grains, I highly recommend ordering through AncientGrains.com. They are dedicated to preserving these heritage seeds and to providing the highest-quality flour, berries, and pasta.

👉 Shop for your health: AncientGrains.com – Sherrie’s Remedy Room

The Bottom Line: You don’t have to give up bread to be healthy—you just have to eat the bread your ancestors ate. Try Einkorn today and feel the difference!

Join the Conversation!

I’d love to hear from you! Have you already made the switch to Einkorn, or are you just beginning your journey into the world of ancient grains?

Tell me in the comments below:

  1. What is your biggest struggle with modern wheat?

  2. If you’ve baked with Einkorn before, what’s your favorite thing to make? (I’m always looking for new recipe inspiration!)

  3. Do you have any questions about how to swap Einkorn into your favorite family recipes?

Don’t forget to head over to Sherrie’s Remedy Room at AncientGrains.com to grab your first bag of flour or grain berries. Let’s bring real bread back to the table together!

Posted on 2 Comments

Zuppa Toscana Soup

Zuppa Toscana Soup Blog

🛒Ingredients

 * 1 lb Spicy Italian Sausage (ground or removed from casings)

 * 6 slices Bacon, chopped

 * 1 large White Onion, diced

 * 3–4 cloves Garlic, minced

 * 6 cups Chicken Broth (low sodium preferred)

 * 2 cups Water

 * 3–4 medium Russet Potatoes, thinly sliced (half-moons)

 * 2 cups Kale, roughly chopped (stems removed)

 * 1 cup Heavy Whipping Cream

 * Garnish: Grated Parmesan cheese and red pepper flakes

👩‍🍳Instructions

1. Brown the Meats

In a large pot or Dutch oven over medium-high heat, cook the chopped bacon until crisp. Use a slotted spoon to remove the bacon and set it aside on a paper towel, leaving about 2 tablespoons of fat in the pot. Add the sausage to the same pot, breaking it up as it browns. Once cooked through, remove the sausage and set aside with the bacon.

2. Sauté Aromatics

In the remaining fat, add the diced onion and cook for 5 minutes until translucent. Stir in the minced garlic and cook for just 1 minute until fragrant.

3. Simmer the Potatoes

Pour in the chicken broth and water. Add the sliced potatoes. Bring to a boil, then reduce heat to a simmer. Cook for about 15–20 minutes, or until the potatoes are fork-tender.

4. Finish and Serve

Stir in the cooked sausage, bacon, and chopped kale. Pour in the heavy cream. Let the soup simmer for another 3–5 minutes until the kale is wilted and the soup is heated through.

Season with salt and pepper to taste. Top each bowl with a sprinkle of Parmesan cheese and extra red pepper flakes if you like it spicy.

💡 Quick Tips

 * Potato Texture: Slice the potatoes very thin (about 1/4 inch). This allows some to break down slightly, naturally thickening the broth.

 * Kale Timing: Add the kale at the very end to keep it bright green; it only takes a few minutes to soften.

 * Storage: This soup tastes even better the next day! It stays fresh in the fridge for up to 3 days.

Posted on 5 Comments

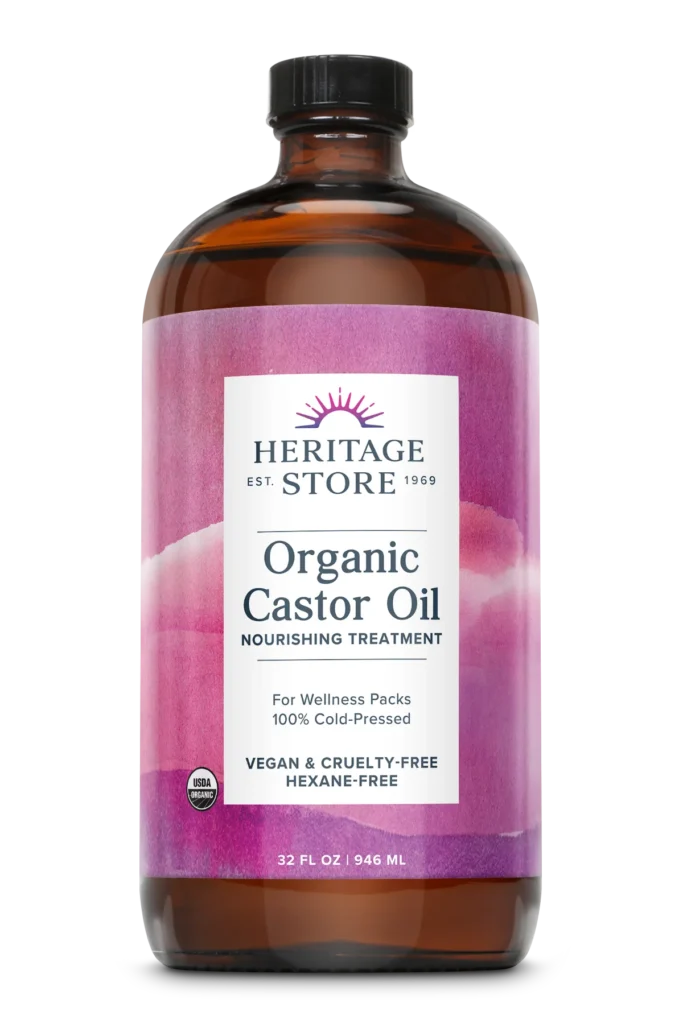
The Benefits of Using Organic Castor Oil

The Benefits of Using Organic Castor Oil

A quiet powerhouse for skin, hair, and everyday wellness

Castor oil isn’t trendy. It’s effective. For generations, it’s been a staple in traditional wellness routines—and when you choose organic, cold-pressed castor oil, you’re getting the cleanest, most versatile version of it.

Here’s why organic castor oil earns its keep.


1. Deep, Targeted Moisture (Without the Junk)

Organic castor oil is rich in ricinoleic acid, a fatty acid that penetrates deeply instead of just sitting on the surface. That makes it especially useful for:

  • Dry or cracked skin

  • Elbows, heels, and cuticles

  • Lips and under-eye areas

Because it’s thick and slow-absorbing, a little goes a long way. No fillers. No synthetic fragrance. Just real moisture.


2. Supports Healthy Hair & Scalp

If you’re dealing with dryness, breakage, or a stressed-out scalp, castor oil pulls its weight.

  • Helps seal in moisture along the hair shaft

  • Supports scalp circulation when massaged in

  • Reduces the look of flaking and dryness

Many people use it on brows, lashes, and edges for the same reason: consistency over hype.


3. Gentle Support for Skin Balance

Organic castor oil has natural cleansing properties, which is why it’s often used in oil-cleansing routines.

  • Helps dissolve buildup and impurities

  • Supports balanced skin without stripping

  • Useful for acne-prone or sensitive skin when used correctly

The key is organic and cold-pressed—low-quality oils can clog pores or irritate skin.


4. Ideal for Castor Oil Packs

Castor oil packs are a long-standing traditional practice used to support relaxation and overall comfort.

  • Commonly applied to the abdomen or joints

  • Often used during rest or evening routines

  • Valued for its warming, grounding feel

While not a medical treatment, many people swear by the ritual alone.


5. Clean Ingredient You Can Actually Trust

Organic castor oil means:

  • No chemical solvents

  • No hexane extraction

  • No genetically modified seeds

Cold-pressed oils retain their natural compounds and are safer for regular, multi-use applications—especially on skin.


6. One Bottle, Endless Uses

This is where castor oil really shines:

  • Skin moisturizer

  • Hair and scalp oil

  • Lash and brow care

  • Nail and cuticle oil

  • Oil cleansing

  • DIY balms and salves

Minimal products. Maximum use. That’s smart wellness.


How to Use It (Without Overdoing It)

  • For skin: Apply a pea-sized amount to damp skin

  • For hair: Mix with a lighter oil (like jojoba) for easier application

  • For packs: Use organic cotton or flannel, apply oil, cover, and rest

Always patch test—natural doesn’t mean reckless.


Final Thoughts

Organic castor oil isn’t flashy. It’s foundational.

When you choose a clean, organic, cold-pressed castor oil, you’re choosing a product that does what it’s supposed to do—quietly, consistently, and without compromise.

Sometimes the old remedies stick around for a reason.

GET YOURS TODAY